Violin Varnish Course
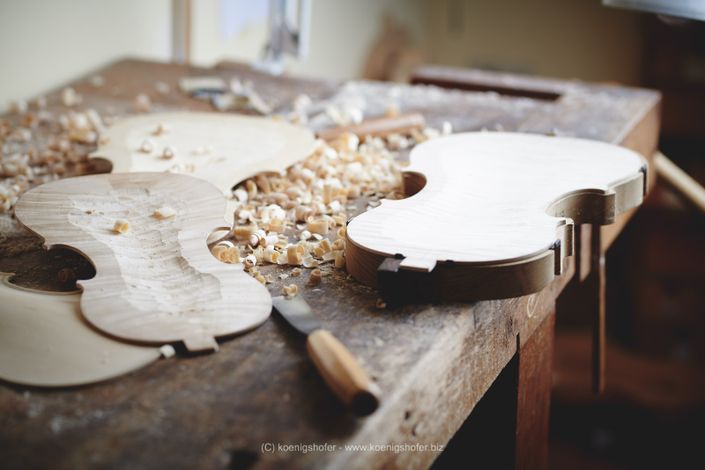
The right varnish should increase all the effort you have putted into your self-made violin. It should lighten up the beauty of the carefully chosen tonewood and should enhance the vibrating properties of every instrument.
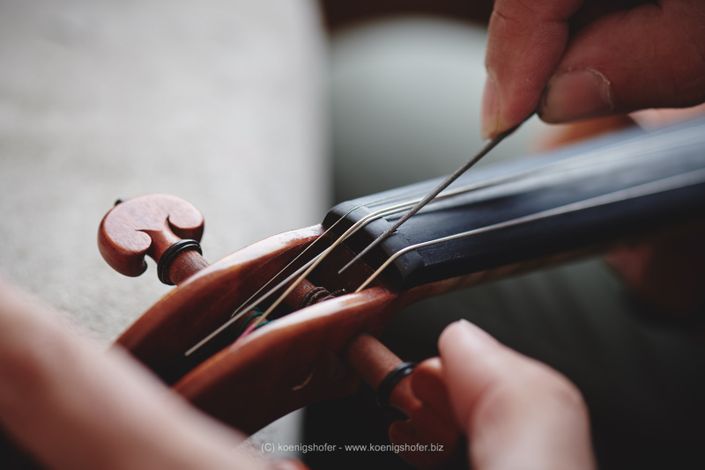
Master Edgar Russ will guide you step by step from the wood preparation all the way to a beautiful varnished instrument which will age gracefully over the coming years.
Preview the first lesson for free!

Preparation
The right preparation makes a huge difference of the final result of your violin. Save unhappy moments by following what Edgar Russ will show you in his lectures.

Stain and wood preparation
Staining will help to underline the beauty of the flames while the right protein wood preparation just like the Great Masters of the 17th. Century have been using very likely will guarantee that the varnish will be enhancing the Italian sound properties of your instrument. Edgar Russ is an expert and offers here his knowledge.

Varnishing
Edgar Russ will explain and show you in this course how to varnish with Spirit varnish as well as he will explain and show you step by step the oil varnishing secrets. Depending on your preference you will have the option to choose which type of varnish.
Both varnishes will be made together with the Master.
Oil Varnishing Roadmap:
- 9.1. - Sanding the Violin and Preparing the Color Varnish (20:20)
- 9.2. - Adding & Mixing Pigments of the Color Varnish (20:31)
- 9.3. - Applying the Color Varnish (20:57)
- 9.4. - Fading and after it Polimerizzed we Face some smaller Issues (19:48)
- 9.5. - A Yellow Layer Helps; Sanding and Second Color Layer (21:08)
- 9.6. - Second Color Layer (20:05)
- 12.1. - Sanding Back and Front with very fine Sandpaper (20:27)
- 12.2. - Sanding the Ribs and the Scroll with very fine Sandpaper (19:52)
- 12.3. - Sanding the Scroll with fine Sandpaper (12:39)
- 12.4. - How to get started to polish with Shellack, Oil and Alcool (18:56)
- 12.5. - Fine Polishing in small Circles (15:22)


