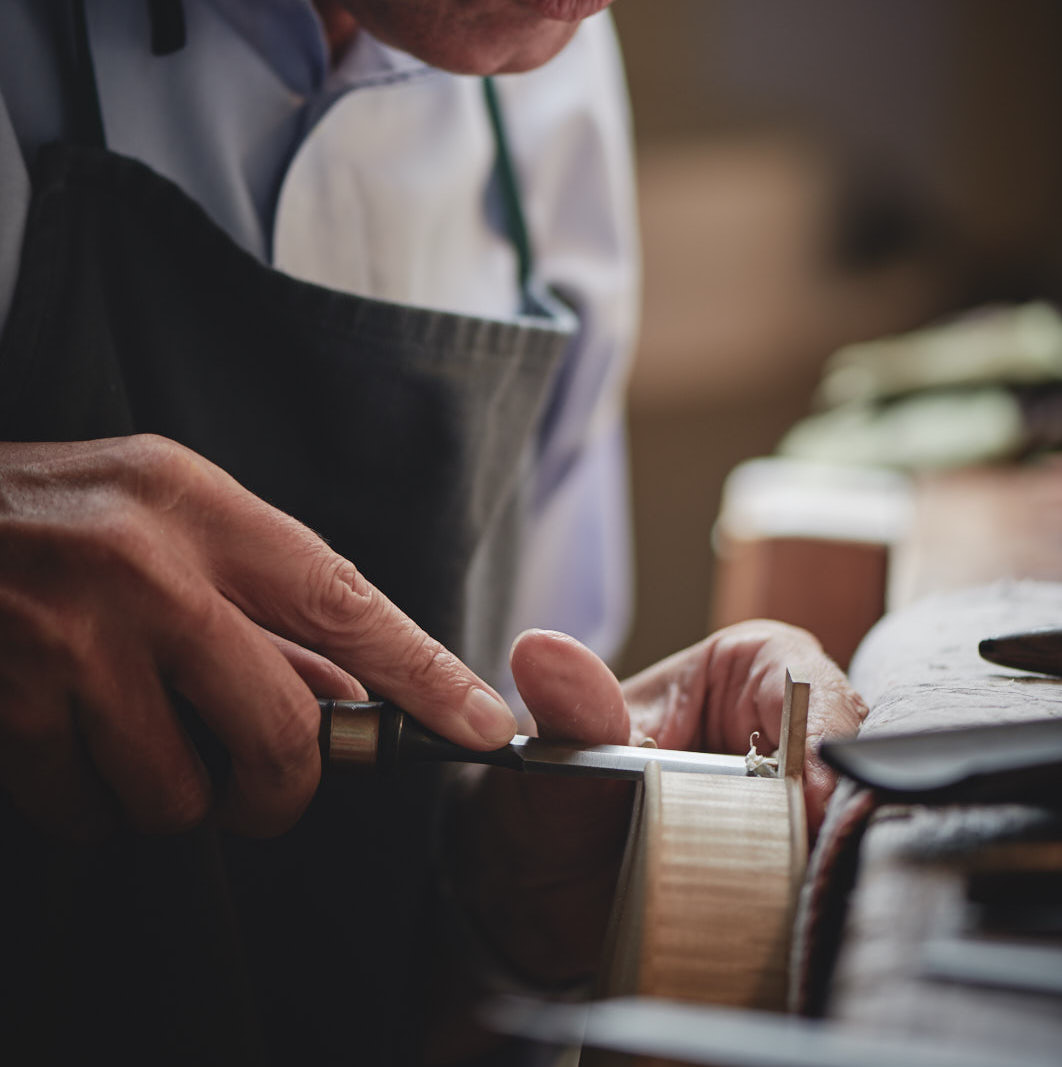
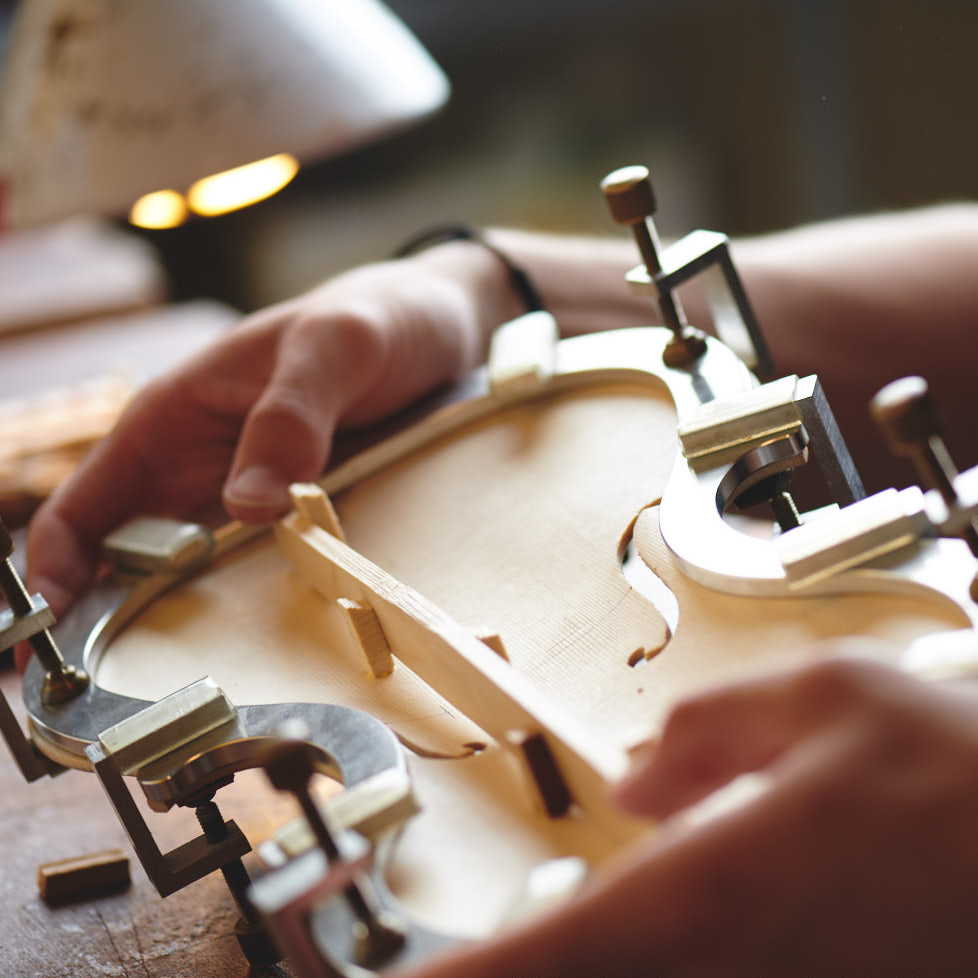
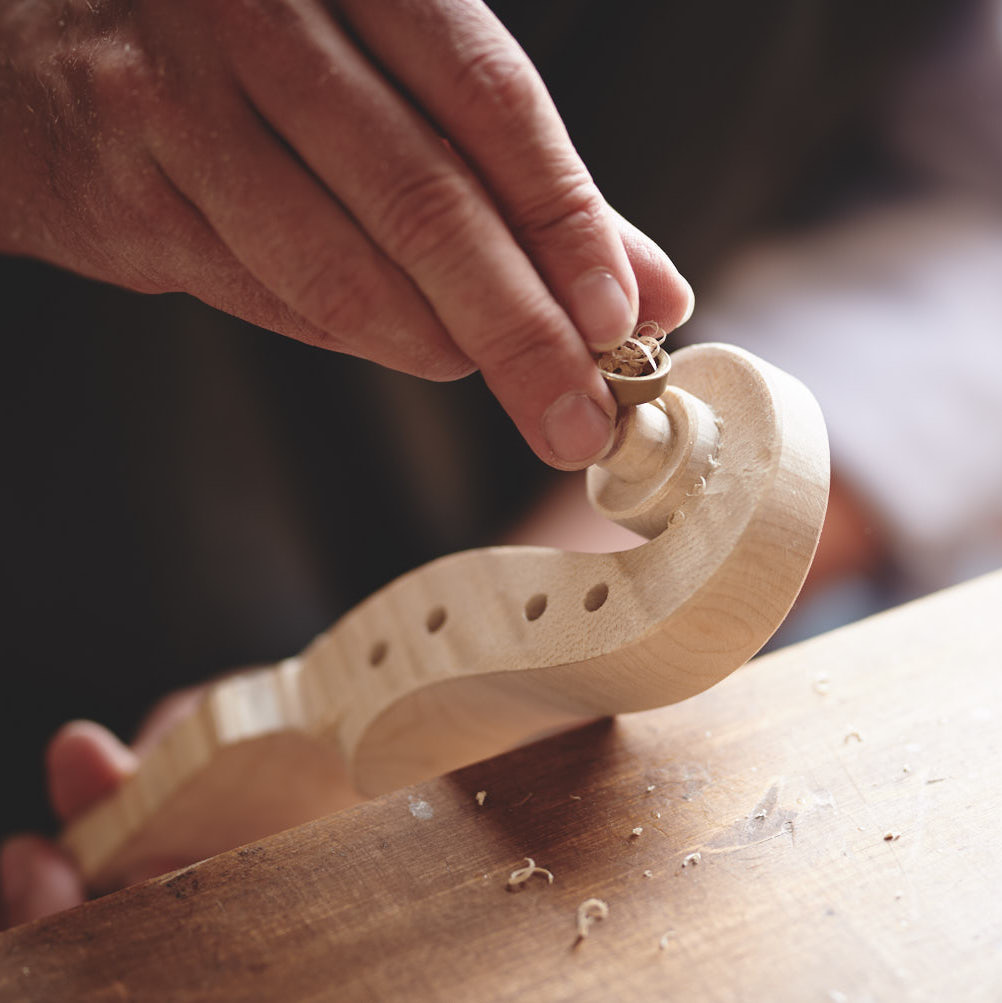
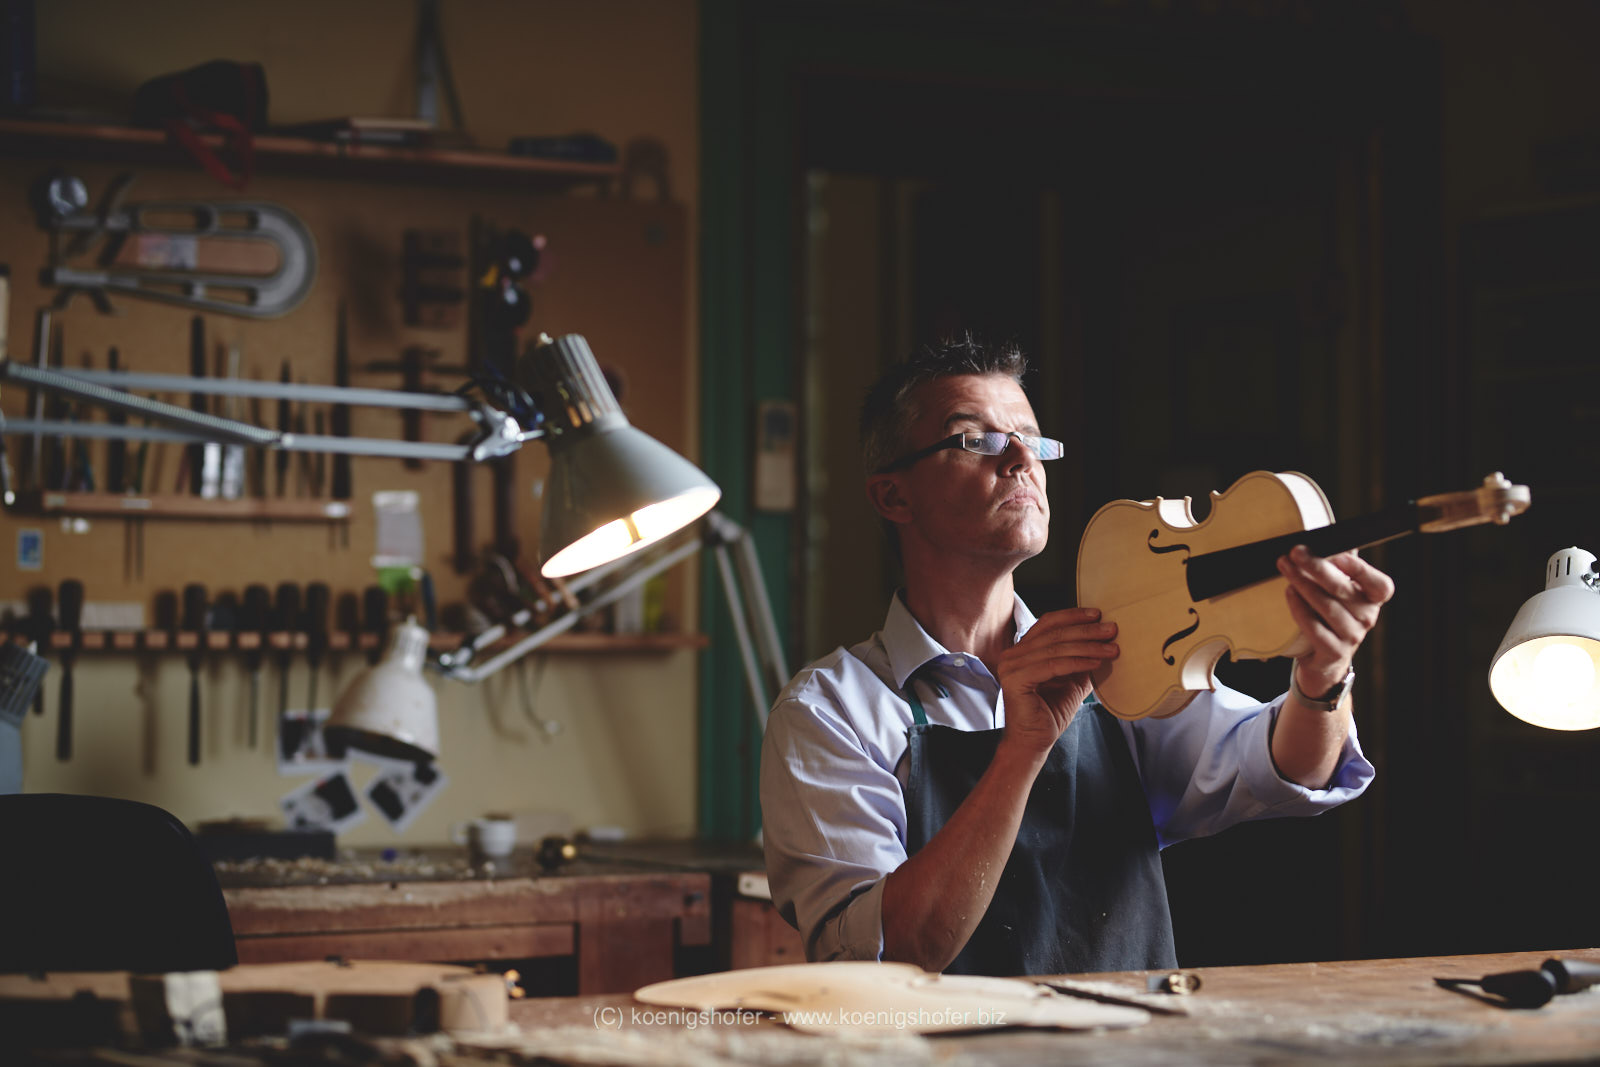
Construction Course
With this Violin Construction Course, you will learn in a very natural way to build your own violin.
Watch the 20 Minute videos section by section and put what you have seen in reality. Listen to the precious advice from Master Edgar Russ and watch him while he is doing it. What he makes in one or two hours is possible for everybody to put into reality.
You will experience an entirely new way of satisfaction after every day you work on your self-made violin. A huge gratification for every student of this violin-making Course.
Preview three lessons for free!

Ribs and Corpus
Edgar Russ is a worldwide very well known and appreciated and distinguished violinmaker. You will build together with him your violin. In almost 40 years of experience in this trade, Edgar Russ will teach in a very efficient way the entire construction.

Bassbar
Edgar Russ shows you exactly what it takes to make a great sounding violin and what difference it causes. You will learn how the violin sounds and what you can change in order that the violin will sound exactly how you dream of.

Scroll and Neck
The scroll is a very personal part and includes all tools; that's why by looking at it, it is like looking at You. Nevertheless there are many tiny details which need to be in certain way in order that you can play your violin as comfortable as possible.
Violin Making Roadmap:
- 5.1. - Shaping the corner blocks (24:58)
- 5.2. - Preparing the ribs (24:47)
- 5.3. - Bending the C bouts & glueing (21:27)
- 5.4. - Glueing the C - upper and lower blocks (22:28)
- 5.5. - Shaping corner blocks for upper and lower ribs (24:12)
- 5.6. - Bending and glueing the upper and lower bouts (21:51)
- 5.7. - Preparing the second side of our ribs (19:26)
- 5.8. - Glueing the other side of the ribs (9:29)
- 8.1. - Marking the the edge and starting to carve (22:51)
- 8.2. - Roughing out the archings: "la Sesta" (the 6th) (21:43)
- 8.3. - Roughing the arching: "le Quinte" (the 5th) (23:51)
- 8.4. - Cleaning the arching with the gauge (24:28)
- 8.5. - Finishing the top arching with arching plane (23:56)
- 8.6. - Finishing back arching with the arching plane (19:50)
- 10.1. - Purfling Introduction (22:55)
- 10.2. - Purfling cutter, Sample and Marking (24:14)
- 10.3. - Marking and Carving the Channel (23:23)
- 10.4. - Depth and Channel close by the Button (24:51)
- 10.5. - Lecture about the Ideal Purfling Corner (23:52)
- 10.6. - Cutting the Channel of the Corner (24:33)
- 10.7. - Bending the Purfling and Fitting the Corners (24:40)
- 10.8. - Fitting the C Purfling and Glueing (24:51)
- 10.9. - Glueing the Purfling (10:36)
- 38.1. - Neck Setting Theory (20:34)
- 38.2. - Marking the Measurements (20:38)
- 38.3. - First Cut of the Neck Setting (21:02)
- 38.4. - Which change causes what of the Neck Setting (20:35)
- 38.5. - How to get closer to the final Measurements (19:21)
- 38.6. - Double-checking and Going Deeper Inside (20:11)
- 38.7. - Final Fitting the neck Setting and Trimming the Neck Foot (19:46)
